Mentor Comments
Kyle:
-First camera is good, movement is a little abrupt at the end, maybe start to ease out
the motion
-Clouds will be challenge but very cool idea
-Weird that the first shot the ring moves away and then comes back to the original
position for the second shot
-Cloud layers in the distance to make sure scale makes sense and foreground
turbulence
-Ring spinning in the water is beautiful
-Animation needs to be smoothed out a little between the cloth shot and the detail
shot, the ring stops for a moment
Beck:
-Be careful of the scale change in the cloud shot, ring might look massive because
macro clouds would just be foam - might not be an issue but it’s something to think
about
-Clouds are seen with detail at a distance
-Bubble material - look up nested dialectics, look at karma documentation for
realistic water bubbles
-Darker background for bubble material so that you can see the shader details
better
Billy:
-Use relative scale for cloud shot
Hannah:
-Maybe mood represented with abstraction of clouds rather than realistic clouds so
audience does not have a realistic frame of reference for the scale
-Lean on the colors of the shot for the emotion
To Do
Team:
-Transitions. Locking in the cameras and ring positions for start and end of shots.
-Getting a render test in for this week meaning sticking to our hand off schedule.
-Gracie redoing shot 3 to be more abstract
-Noelle refining the bubbles based on becks notes and figuring out that render issue we had this week
-FX continuing tests and development
-Lighting rendering test for 1st and last shot(Maybe shot 2 and 4)
Me:
-Experiment with implementing white water bubble sim
-Adjust animation on shot 5 to be snappier and just quicker overall
-Mesh Flip sim and blend it with ocean surface
-Start applying materials to shot 2 so it can be sent to Noelle for lighting
________________________________________________________________________________________
1/26/2026
Week 4 Review, edited by Wren Pellant
________________________________________________________________________________________
1/24/2026
Here is a comparison of my previous iteration of the bubbles from last week vs now
Previous Flipbook of bubbles
New Flipbook of bubbles
Despite the changes I know I need to make to the sim itself, I am very happy with how it is coming along. While I had it done I took the time to throw it in Solaris to see how they look with a transmissive texture applied

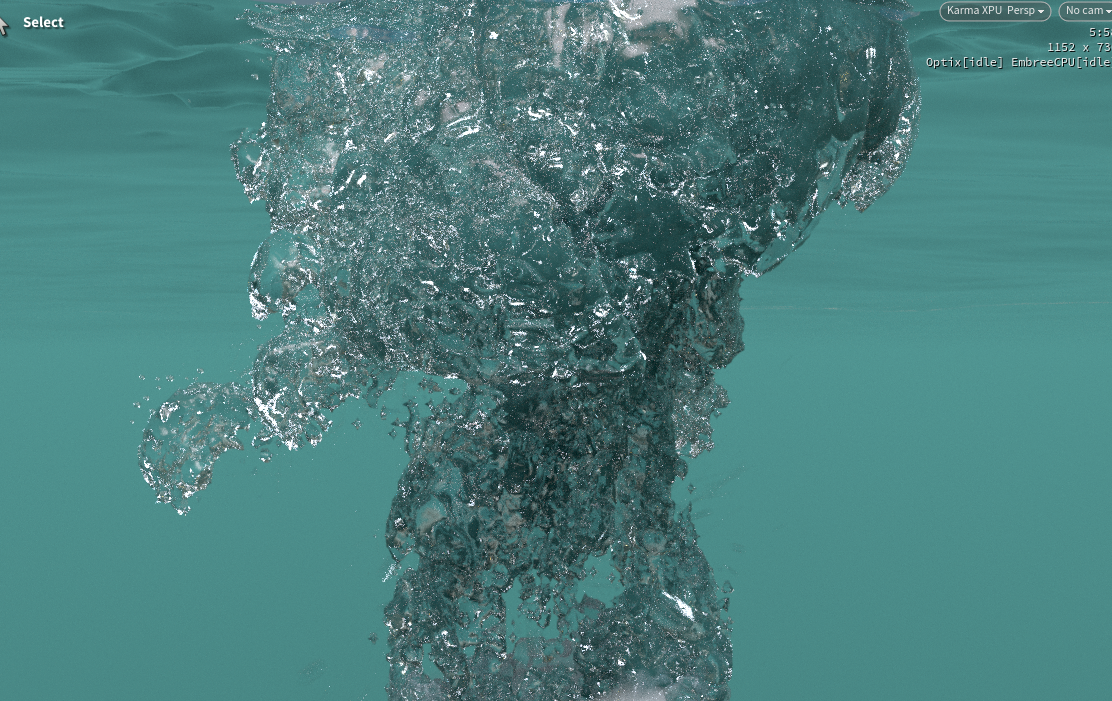
Render with material applied
Next week I plan to finalize the look with a final layer of whitewater to completely sell the effect. For now though I used Gemini to create a concept of what that will look like for the mentors to see
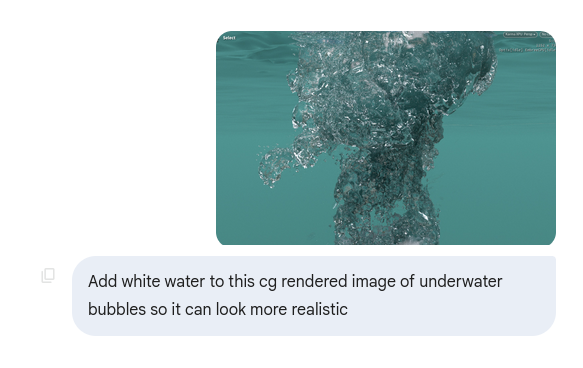
Prompt
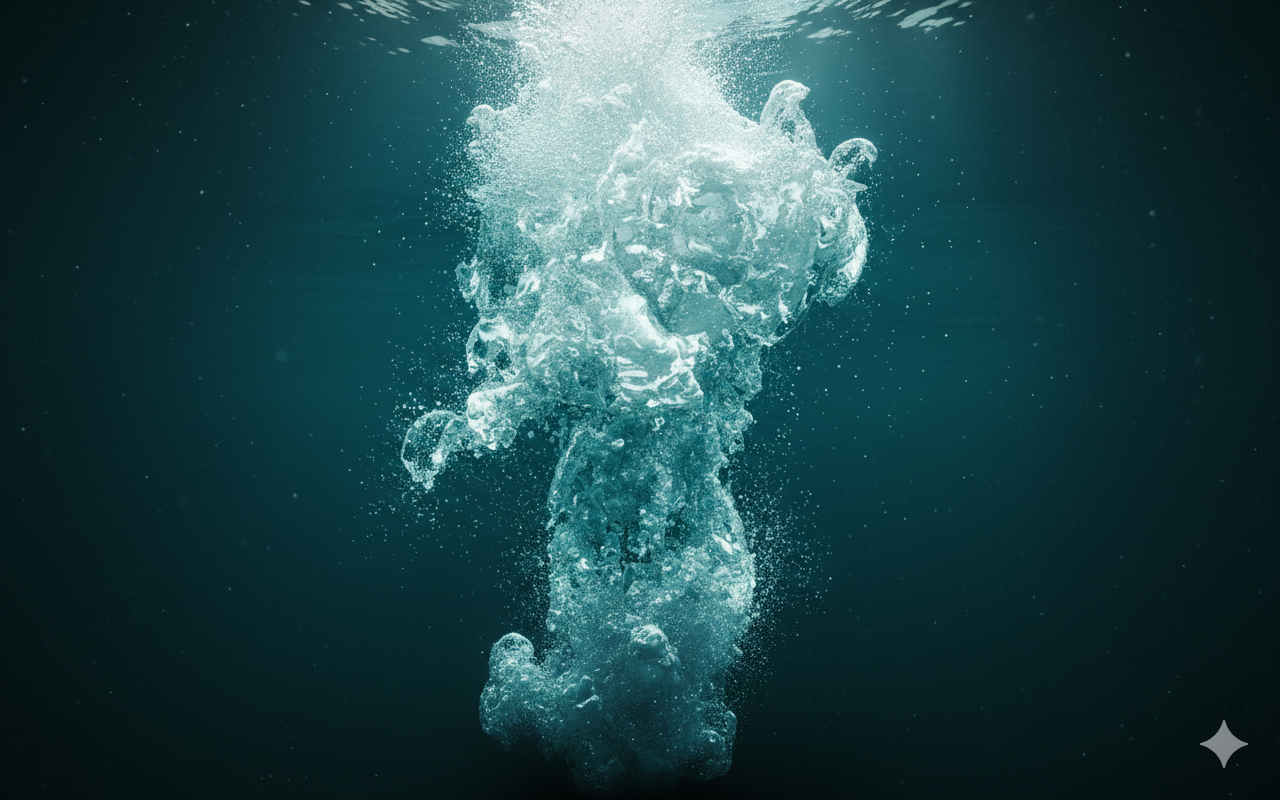
Made with Gemini AI
With this completed, I wanted to get this file to Noelle so we could start getting the lighting further along for our vis test

Caching all SOPS as USDs to optimize render time in the long run

Solaris Node Network
While waiting for Noelle to get Lighting on the shot completed, I wanted to get a test render out to get an idea of how everything is looking so far. From this render I noticed a few issues that I'll need to address later down the road(Extending impact bubble duration)
Test Render(No proper materials and lighting)
________________________________________________________________________________________
1/23/2026
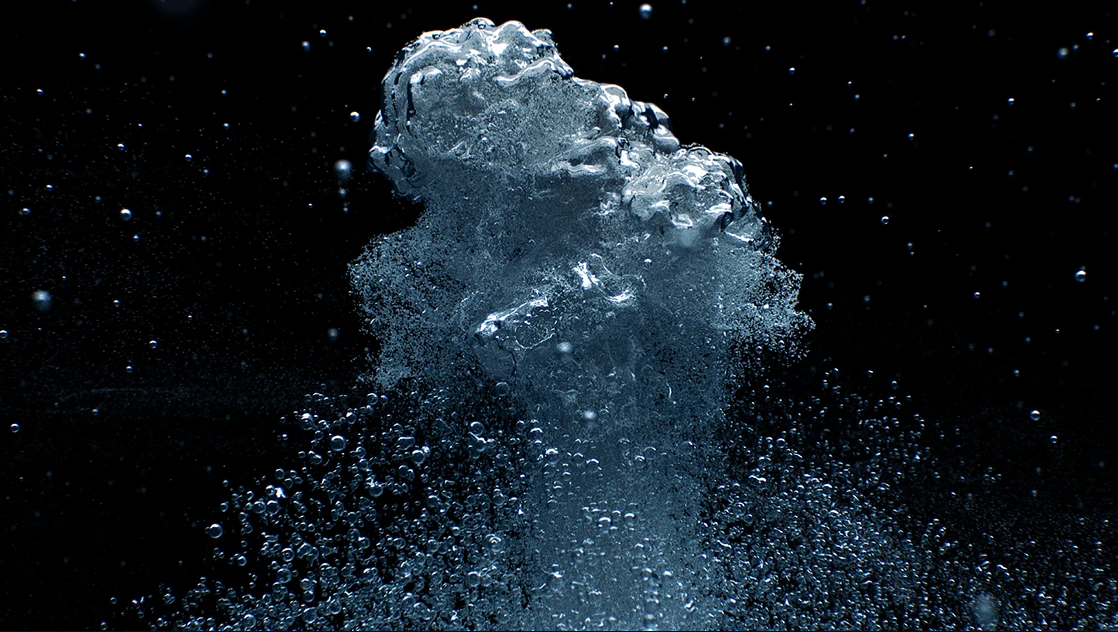
One thing I felt my bubbles were missing in previous iterations was that large impact group of bubbles that come from a hefty force hitting the water. Getting these right would definitely add a ton to the flow and realism of the shot, so I found a good reference to imitate
Previous Flipbook of bubbles
Using my narrow band FLIP sim, I sourced a group of points closest to the impact of the ring by sourcing said points from the vorticity attribute

Vorticity attribute Visualization
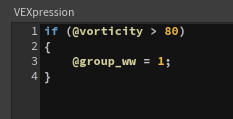
VEX to make group
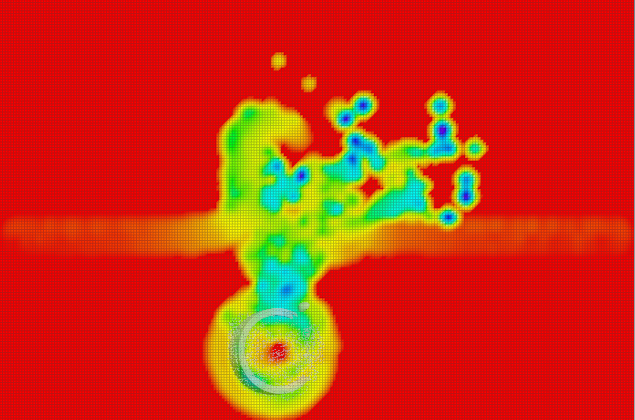
After I had these points, I rasterized them into a volume which I plugged into a SOP level PYRO solver to get a short simulation of smoke emitting from the rings impact position(Using a VDB of the ring to act as a collision source)
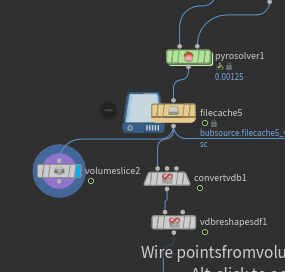
Node Network

Volume Slice of Pyro Sim
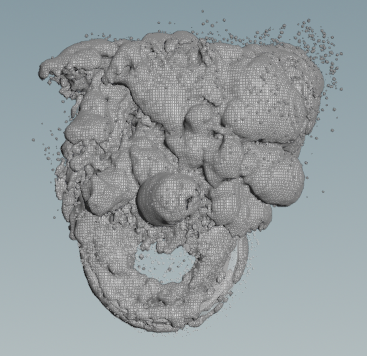
With this smoke sim, I converted it into a VDB which I reshaped until it looked like how it does below. After which I then converted it into a Polygon
Node Network
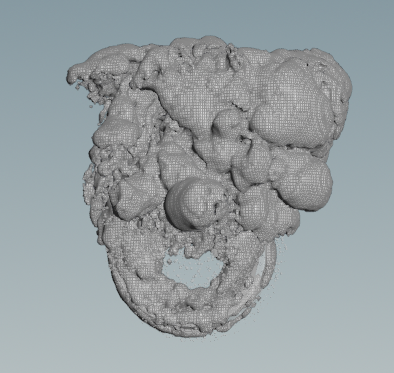
Meshed Pyro Sim
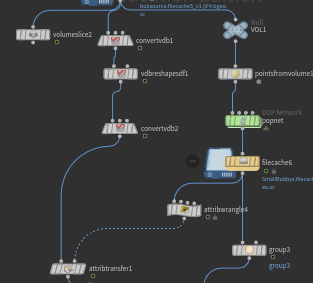
Using the same PYRO sim as before, I converted the volume into points that I plugged in a POP simulation(Using the PYRO sim volume to advect the points movement). Using a similar method as my other bubbles, I meshed those points to look like bubbles

Node Network
Meshed Pyro Sim + Bubbles
________________________________________________________________________________________
1/21/2026
As addressing the mentor's feedback takes priority over anything I personally want to get done, I went back to shot 5 in order to adjust the animation. Kyle said the animation needed to be smoothed a bit, as the ring stops in mid air for too long. While fixing the animation, I also set up a test render so Noelle could get ahead on lighting the shot. This way we could have an even prettier vis for the mentors next week
Version 1
Version 2 + Test Render
Moving on from shot 5, I want to start making more progress on shot 2. One specific thing that has been a goal of mine for this week was getting the FLIP simulation blended with the ocean surface around it. To do that I would need a mask of the sim to blend with my ocean spectrum. The method I chose was to create a Fluid volume mask with the particles from my simulation
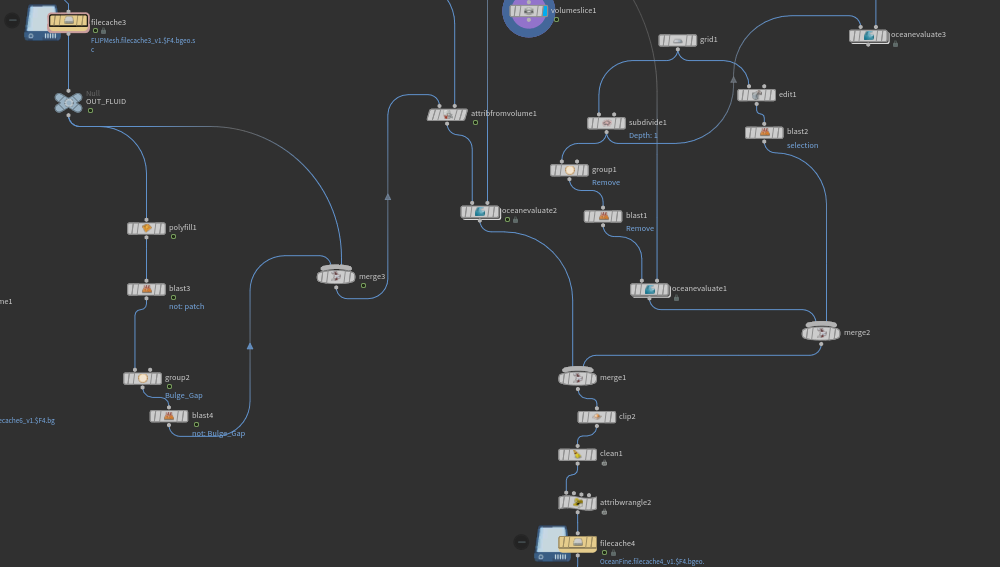
Node Tree, transferring mask attribute from volume to mesh
Mask created from density of volume, sourced from FLIP sim
Once I had the mask set up, I was able to plug my mesh into an ocean evaluate in order to apply my ocean spectrum to the entire simulation
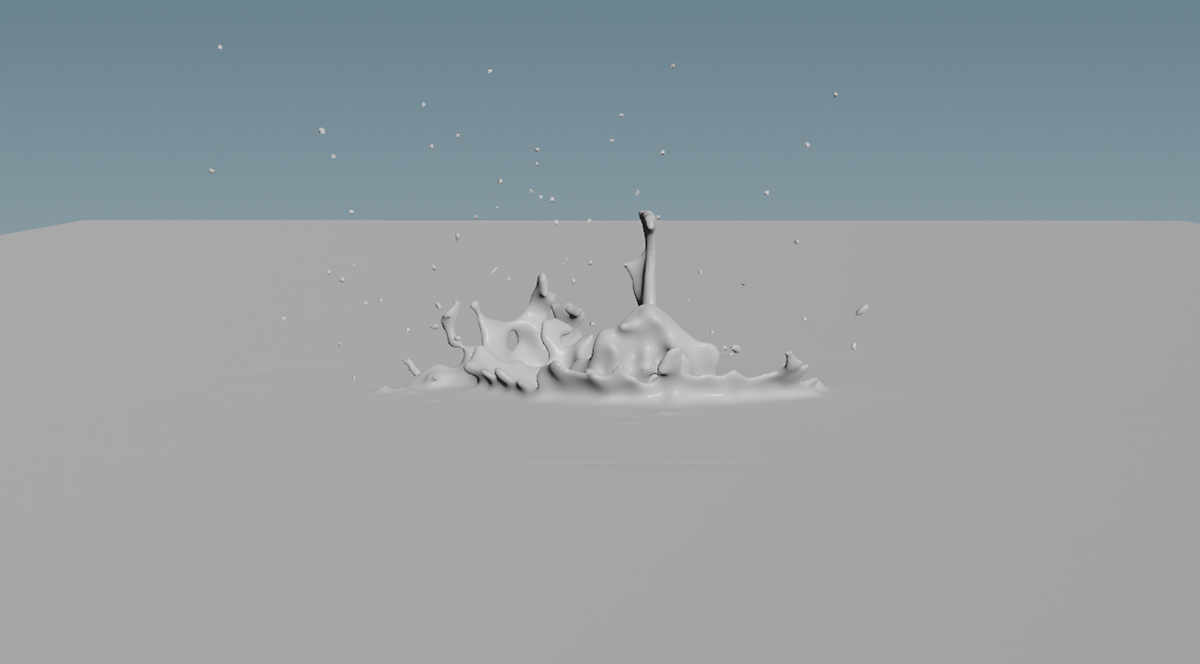
Before Ocean Spectrum
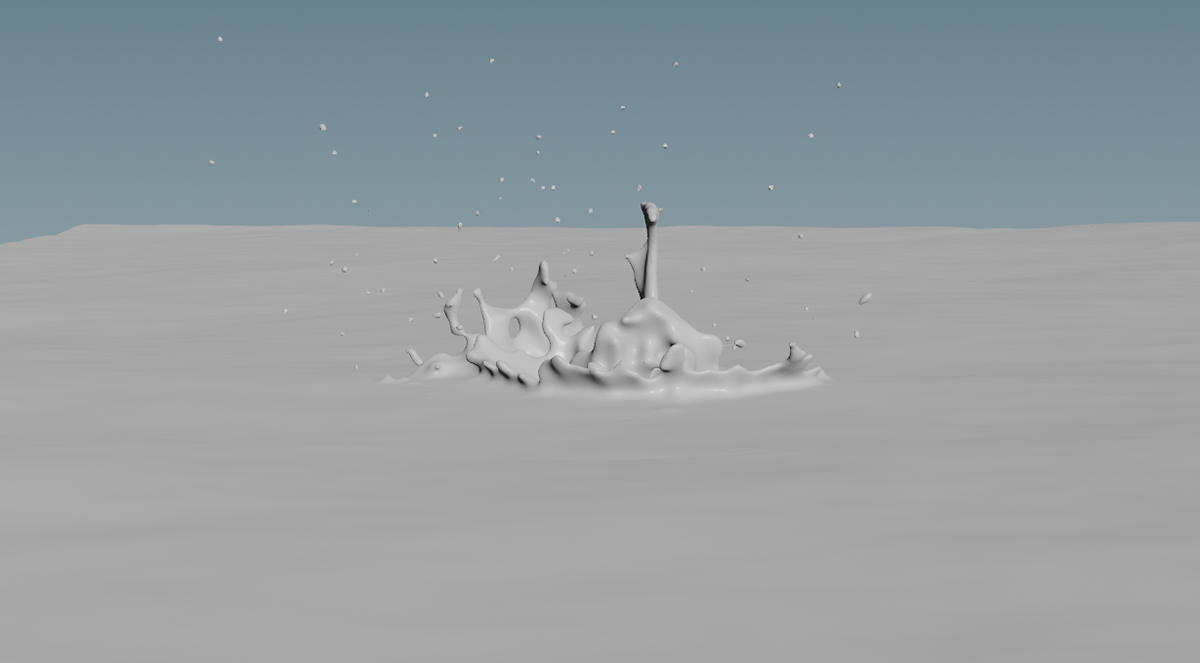
After Ocean Spectrum
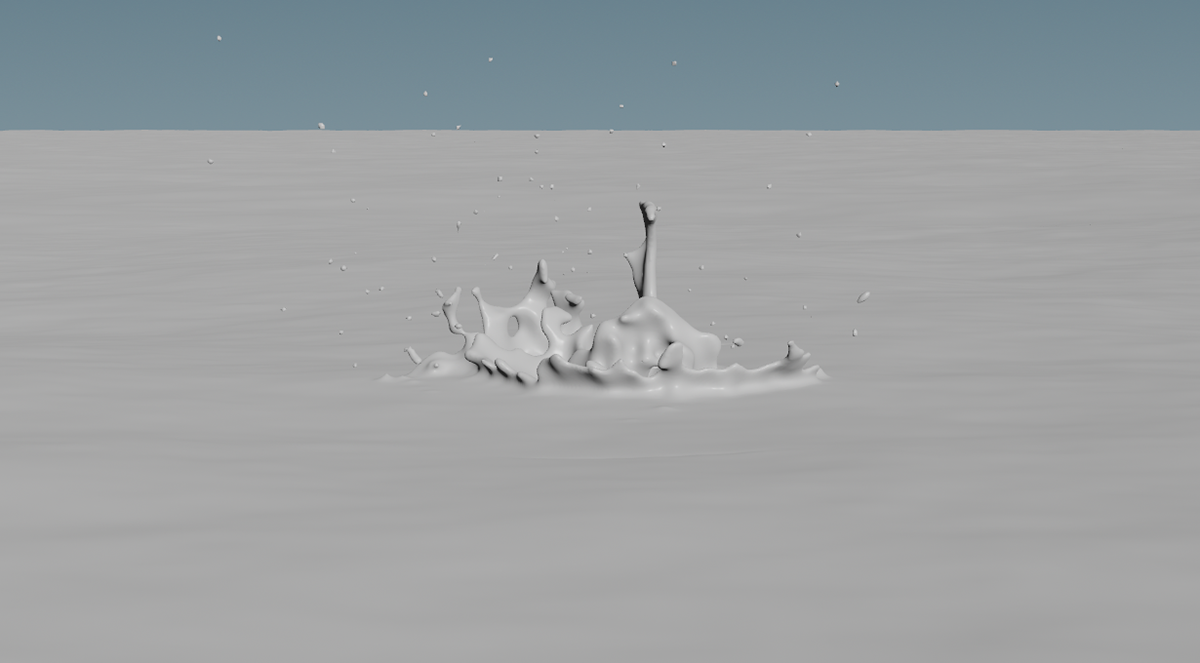
After Ocean Spectrum + Extended
________________________________________________________________________________________
1/20/2026
Today we presented once again to the NYC mentors with an update on our progress. The team definitely made a ton of progress this past week, and the mentors absolutely noticed our hard work. They provided some great feedback on our shots that we are aiming to have implemented for our review next week!
Week 3 Review, edited by Wren Pellant
Below is a test render I hastily put together in order to get an idea of the noise that will be in our renders later om due to the "karma fog box" volume I will utilize to get the underwater look